Table of Contents
ToggleA mudroom takes a beating. Wet boots, tracked-in dirt, kids’ sports gear, leaking umbrellas, the flooring has to handle it all without falling apart. Most homeowners don’t think much about mudroom flooring until the existing surface starts cracking, staining, or becoming a slipping hazard. The good news is that durable, practical options have improved dramatically over the past few years. Whether you’re doing a quick refresh or a full renovation, choosing the right mudroom flooring balances durability, maintenance, safety, and budget. This guide walks you through seven solid choices, from traditional tile to modern epoxy, so you can pick what actually works for your household.
Key Takeaways
- Porcelain tile remains the gold standard for mudroom flooring due to its superior water resistance, durability, and ability to handle high-traffic entry zones better than wood or laminate.
- Luxury vinyl plank (LVP) with rigid core and 20 mil wear layers offers a waterproof, easy-to-install alternative to tile, though it may not outlast genuine tile over 15+ years.
- Natural stone options like slate provide excellent durability and built-in slip resistance, but require professional installation and sealing every 1–2 years to prevent water damage and staining.
- Polished concrete or epoxy-coated concrete is a cost-effective and modern solution for exposed subfloors, but requires non-slip topcoats and professional application for best results.
- Rubber and modular interlocking tiles are the easiest DIY mudroom flooring options with excellent traction, though they’re better suited to functional spaces than design-focused entryways.
- Regular maintenance—daily sweeping, weekly mopping, and prompt moisture removal—can double the lifespan of any mudroom flooring material and prevent costly repairs.
Porcelain and Ceramic Tile Flooring
Tile remains the gold standard for mudrooms, and for good reason. Porcelain tile is denser and less porous than ceramic, making it more water-resistant and durable for high-traffic entry zones. Both handle foot traffic, moisture, and staining far better than wood or laminate.
Look for tiles rated PEI 3 or higher for mudroom traffic (Porcelain Enamel Institute ratings measure surface hardness). Larger format tiles, 12×24 inches or bigger, mean fewer grout lines, which translates to less dirt accumulation and easier cleaning. Matte or textured finishes grip feet better than glossy surfaces, especially when wet.
Grout is the weak point. Standard cement grout absorbs water and stains easily: invest in epoxy or urethane grout for mudrooms. It costs more upfront but resists moisture, mildew, and discoloring for years longer. Seal any cement grout every 1–2 years if you do install it.
Installation requires a flat, stable subfloor. If your mudroom concrete has cracks or movement, you’ll need to repair it first, tiles will telegraph any flaws underneath. Use a modified thin-set mortar rated for the tile type, and ensure proper slope for drainage if the mudroom is exposed to water. Most tile jobs benefit from a second pair of hands and patience: rushing leads to lippage (uneven tile edges) and weak adhesive bonds.
Luxury Vinyl Plank and Sheet Flooring
Luxury vinyl plank (LVP) and luxury vinyl sheet (LVS) have evolved from cheap-looking alternatives to genuine contenders for mudroom flooring. They’re waterproof (unlike laminate), forgiving to install, and require minimal maintenance. Newer LVP products with enhanced wear layers resist scratching and scuffing remarkably well.
Rigid core LVP is the better choice for mudrooms over standard vinyl planks. It won’t flex underfoot, resists dents from chair legs or tool racks, and holds up better in temperature fluctuations. Look for products with wear layers of 20 mil or thicker and an attached underlayment to reduce noise and moisture transmission.
Installation is where LVP shines for DIYers. Click-lock systems snap together without glue, and you can cut planks with a circular saw or miter saw. Acclimate the material to room temperature for 24–48 hours before installing: vinyl expands and contracts, and ignoring this step causes buckling or gaps. Ensure the subfloor is clean, level, and dry.
The downside: LVP can feel plastic underfoot and isn’t as durable as tile over 15+ years. In a heavily used mudroom with heavy furniture or equipment dragging across it, genuine tile or stone will outlast vinyl. Budget $2–5 per square foot installed for mid-range LVP: high-end products approach $7–8 per square foot.
Polished Concrete and Epoxy Coatings
If you’re starting with an exposed concrete subfloor, polished concrete or epoxy-coated concrete can look sharp and cost less than tile. Concrete is inherently durable and doesn’t require underlayment or subfloor prep like other flooring types.
Polished concrete involves grinding the surface smooth and sealing it. The result is a low-maintenance, industrial look that works well in modern mudrooms. Multiple passes with progressively finer diamond grits create a subtle sheen. Seal with a water-based polyurethane or concrete sealer to resist stains and moisture. Reapply every 2–3 years in high-traffic zones.
Epoxy coatings bond chemically to concrete and create a harder, glossier finish than sealed concrete alone. Two-part epoxy (resin plus hardener) is tough, chemical-resistant, and available in colors and finishes. Self-leveling epoxy works on slightly uneven slabs: it flows and hardens into a uniform surface. Installation requires scrupulous surface prep: the concrete must be clean, dry, and slightly etched so the epoxy adheres.
Both options are slippery when wet. Add a non-slip topcoat, broadcast aggregate into wet epoxy, or use textured finishes to improve traction. Cost runs $3–6 per square foot for materials and application, though hiring a professional for epoxy ($6–12 per square foot) yields better results than DIY. Concrete can crack over time if the foundation shifts: these coatings don’t hide structural problems, they highlight them.
Natural Stone Flooring Options
Slate, granite, and limestone bring durability and natural beauty to mudrooms. They’re more rugged than many homeowners assume and can handle decades of traffic if properly sealed.
Slate is a top choice: it splits naturally into relatively flat tiles, has built-in texture for slip resistance, and is extremely dense. Gray, charcoal, and mottled earth tones hide dirt and mud splatter. Granite is harder than slate but often more slippery and pricier. Limestone is more porous and softer: it suits mudrooms less well unless sealed frequently.
Stone requires regular sealing, typically every 1–2 years, to prevent water absorption, staining, and mold growth in seams. Use a stone-specific sealer, not general concrete sealer. Grout must also be sealed, preferably with epoxy grout to minimize moisture infiltration.
Weight is a practical concern. A slate or granite floor adds significant load: ensure the subfloor and joists can support the extra mass (roughly 15–20 pounds per square foot more than ceramic). Uneven natural edges appeal aesthetically but trap dirt: honed or polished finishes are easier to clean in a mudroom. Installation should go to a professional, improper mortar or grout application compromises the seal and durability. Budget $8–15 per square foot installed for slate, more for granite or limestone.
Rubber and Modular Tile Flooring
Rubber flooring is often overlooked for residential mudrooms, but it’s worth considering if you need comfort, noise dampening, and durability. Recycled rubber tiles or new rubber sheets resist water, are forgiving underfoot, and clean easily with a mop.
Rubber tiles interlock or adhere with thin-set, similar to ceramic. They come in textured surfaces for slip resistance and various colors, often darker tones that hide mud. Durability varies: commercial-grade rubber (typically thicker and denser) outlasts thin, cheaper tiles.
Modular interlocking tiles, plastic, rubber, or foam composite, are the easiest DIY option. They snap together like puzzle pieces, require no adhesive, and sit on top of most subfloors. You can swap individual damaged tiles without removing the whole floor. They’re ideal for garages transitioning into mudrooms or for renters (though check lease terms). Traction is excellent due to textured tops.
The trade-off: rubber and modular tiles can feel cheap or industrial in appearance and may absorb odors if not properly sealed. They’re better suited to functional, no-frills mudrooms than those intended as showpiece entryways. Cost is competitive, $2–5 per square foot for modular tiles, slightly more for premium rubber. Longevity in a residential mudroom is 10–15 years with proper care.
Budget-Friendly Alternatives and Maintenance Tips
If budget is tight, some options still deliver. Ceramic tile (not porcelain) at lower price points works for light-to-moderate mudroom traffic, though it’s more prone to cracking and chipping. Vinyl sheet flooring (single-layer, not luxury vinyl) is cheap and waterproof but feels flimsy and stains more easily. Neither lasts as long as better alternatives, so weigh upfront savings against replacement costs in 5–10 years.
Concrete sealant alone, no epoxy or polish, is the absolute cheapest finish if you have an exposed slab. A quality urethane sealer ($0.50–1 per square foot) and regular recoating extends life and improves appearance. It’s not glamorous, but it works.
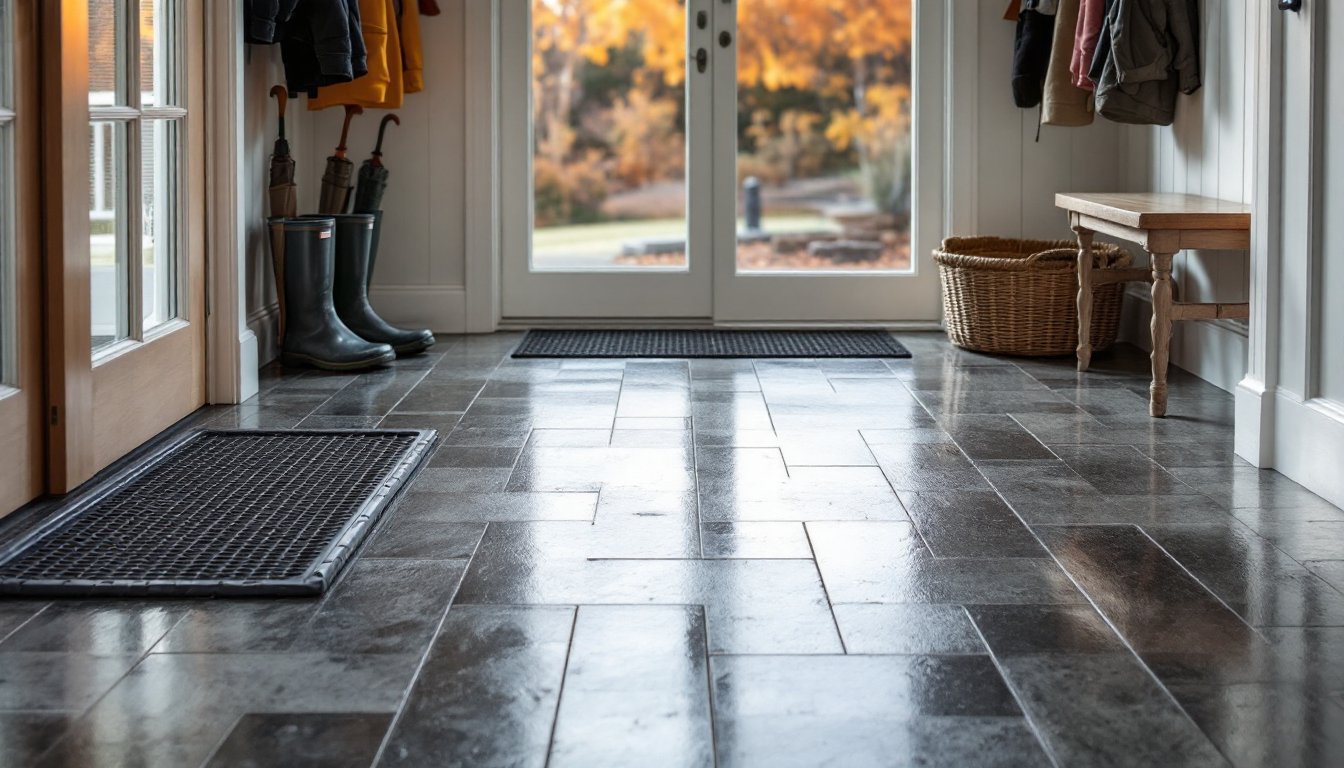
For any mudroom flooring, establish a maintenance routine: sweep or vacuum daily to remove abrasive dirt (grit acts like sandpaper on most surfaces), mop weekly with pH-neutral cleaner specific to your floor type, and dry wet spots immediately to prevent water damage. Keep a boot tray or mat at the entry to trap moisture and dirt before they hit the floor. Use felt pads under chair or shelf legs, metal legs and rubber or concrete are a scratching disaster. Regular maintenance doubles the lifespan of most mudroom floors and keeps them looking fresh without major repair work. You can find design inspiration and ideas at Bob Vila’s mudroom and entryway designs for flooring that complements your home’s style. For cost estimates and renovation planning, ImproveNet’s remodeling resources help homeowners budget accurately for different floor types.
Conclusion
The best mudroom flooring depends on your household’s traffic level, climate, budget, and aesthetic preferences. Tile and stone age gracefully and outlast most other options, but LVP and epoxy offer compelling alternatives for faster installation and lower cost. Don’t skip maintenance, the easiest floors to live with are those you clean regularly and seal as needed. Start with a realistic assessment of how much foot traffic your mudroom sees, then choose a material that matches both your expectations and your willingness to maintain it over time.